Weeknight Recipes
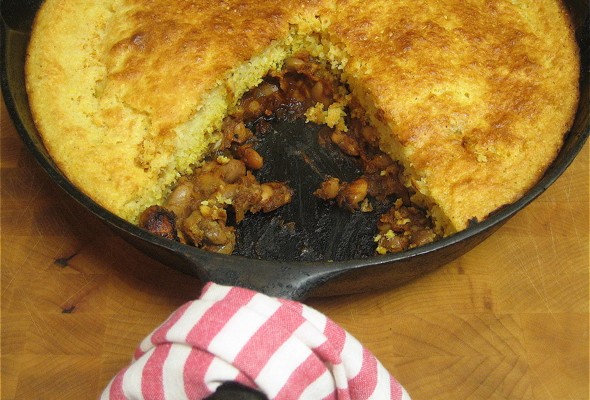
Cornbread Smothered Pinto Beans
I have a list about five miles long of recipes I have marked as ‘to-make’. It’s not a strict and systematic first-in-first-out queue, but more or less I try to ...
“Potsticker” Radishes
My favorite type of radish is -- hands-down -- the french breakfast radish. Oblong, fading from white to pink, mostly mild with a slight peppery bite, I can eat pounds of them if ...
Swiss Chard with Indian Lime Pickle
Poor chard. People seem to get it in their CSA boxes week after week after week (after week). This abundance (some might say excess) can cause a proclaimed chard lover to mutte...
Weekend Projects
Zuni Inspired Ricotta Gnocchi
Ricotta, ricotta, ricotta. So versatile, so simple, so delicious when done well, and so awful when done wrong. For most of my life I hated ricotta, thinking it too rubbery and ...
Agretti and Ricotta Cheesecake
The first time I saw tumbleweed rolling down the street was in rural eastern Washington. We were in some small town near the Idaho border whose name escapes me now. It was early, 7...
Apricot, Cornmeal, and Sage Cookies
It’s not that often that I get fluttery thinking about cookies. Most of the time cookies are cookies, and I could take or leave them (well, to be honest I’ll usually ...
Most Popular
-
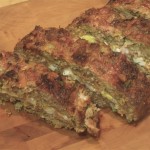
Polpettone: Italian Stuffed Meatloaf
I daydream a lot about cooking during the week, especially when I’m on the train. Its rhythmic...
-
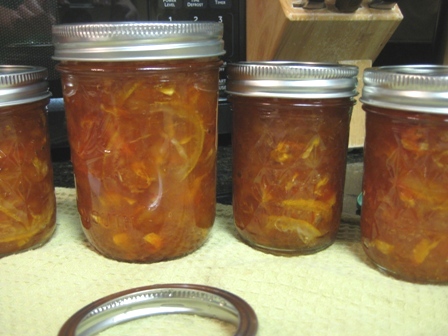
Orange, Pomelo, Lemon and Ginger Preserves
Yesterday I inaugurated my new canning equipment -- a huge 12 quart stockpot, a canning funnel, a ma...
-
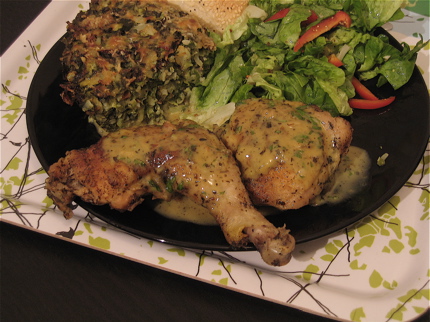
Poulet Sauté Aux Herbes de Provence
I read cookbooks to relax. There is no better way for me to unwind than to read a recipe, imagine t...
-
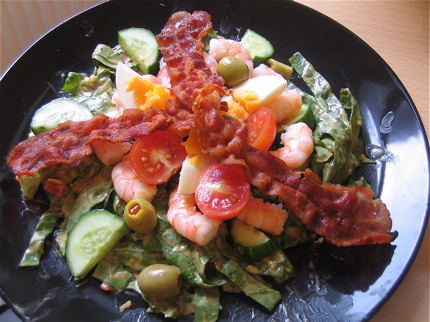
Shrimp Louis Salad with Homemade Thousand Island
I have been craving some serious American food as of late. A week ago I had the overwhelming urge ...
-
Oven Baked French Onion Soup
A few weeks ago on the same France trip that introduced me to Feves au Lard Fume, Steven and I met u...
-
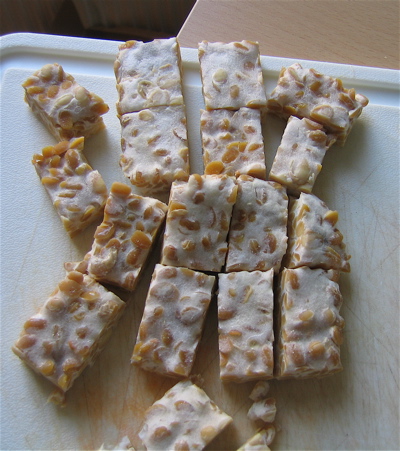
Homemade Tempeh
When I try to explain what tempeh is to a person who isn't familiar with it, it never ends up soundi...
-
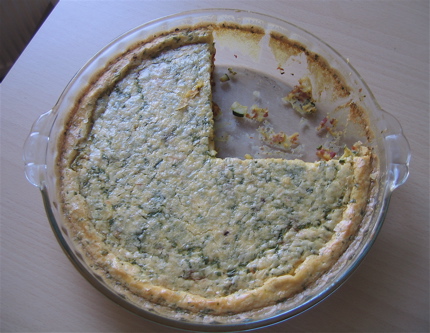
Crustless Quiche with Sun-Dried Tomatoes
I had a quiche epiphany the first time I tasted the quiche from Tartine Bakery in San Francisco. Th...
-
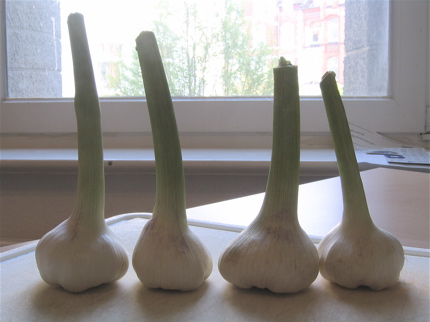
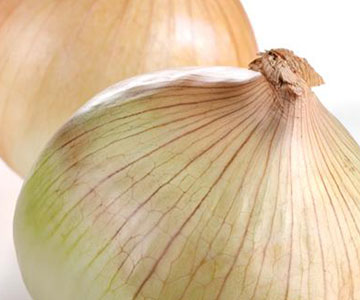
Green Garlic Soup
Besides the expected potatoes and cabbage, green garlic is one item that I have been coming across w...
Veritable Vegetables
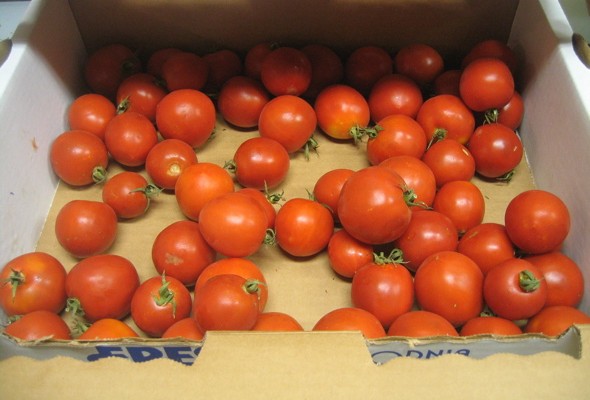
Early Girl Tomato Sauce
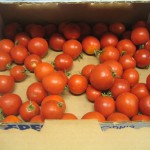
I lack self control when it comes to buying vegetables from Mariquita Farms. In no way, shape, or form did I need twelve pounds of early girl tomatoes. But something -- my vision...
More:
Preserves and Pickles
Homemade Wild Blackberry Jam
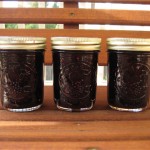
Picking wild blackberries is something I truly miss about living in the Pacific Northwest. Blackberry bushes hang heavy with ripe fruit in late August and early September all over ...
More:
DIY Food Projects
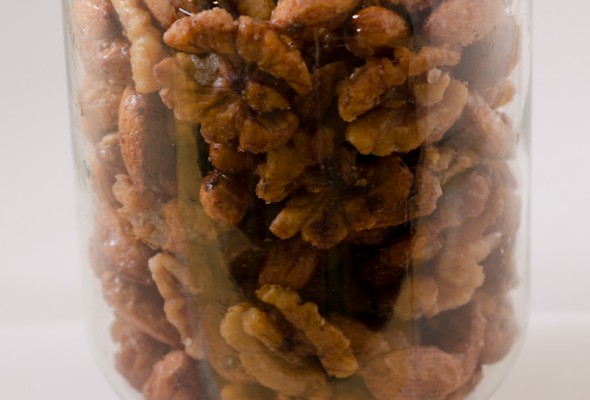
Vanilla and Spice Nuts
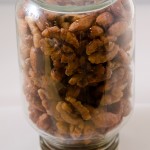
Every year around Christmas I make spiced nuts. LOTS of spiced nuts. Everyone gets a jar — family, friends, co-workers, third cousins three times removed… For about a w...
More:
Meats and Sausages
Polpettone: Italian Stuffed Meatloaf
I daydream a lot about cooking during the week, especially when I’m on the train. Its rhythmic click-clack, the morning fog, and a warm cup of coffee are just the right combi...
More:
Around the World
Oeufs Mollets Estragon

The path to contentment on a Sunday morning for me involves good coffee, a little sunshine, perfectly toasted bread, and eggs with golden runny yolks......